
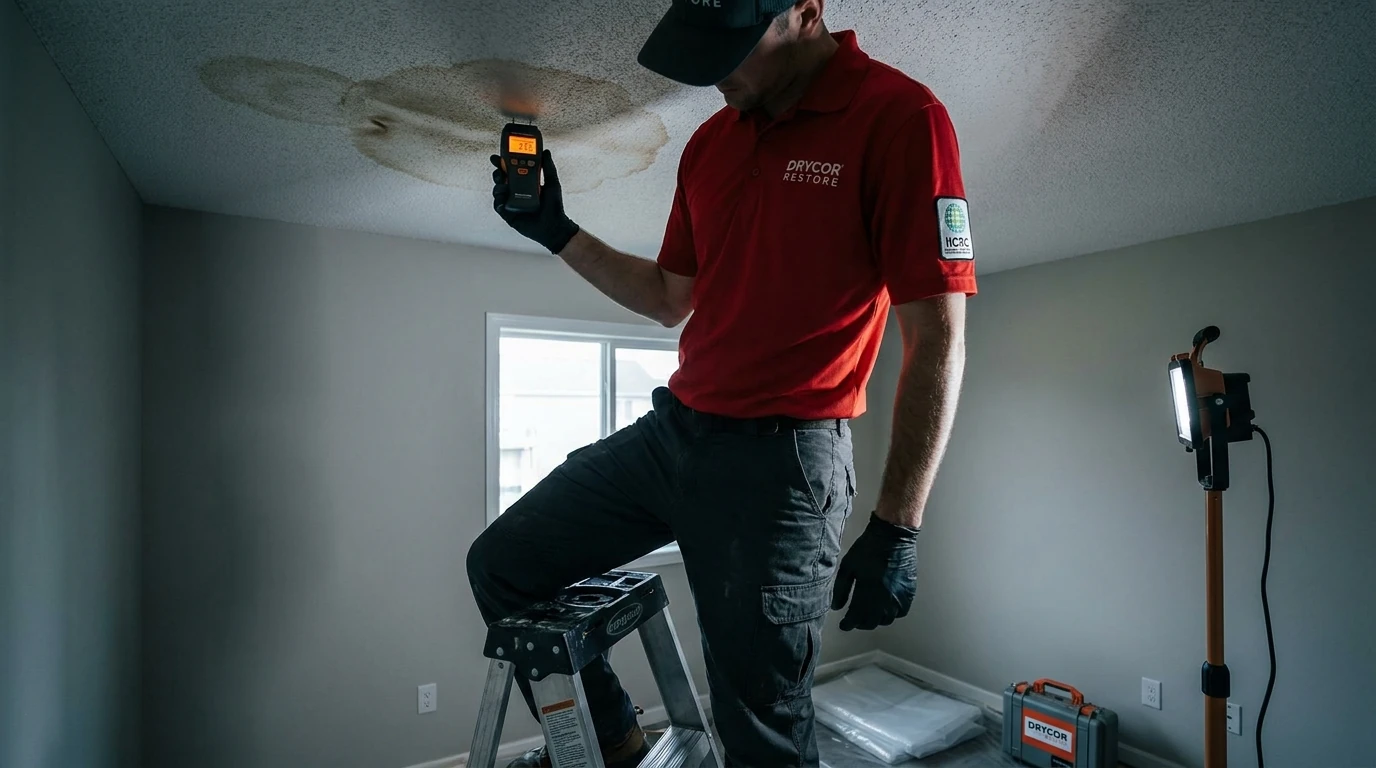
TL;DR: Fixing water damage on a ceiling starts with stopping the source, not patching the stain. Once the leak is gone and the area is fully dry, minor cosmetic repairs (stain-blocking primer, joint compound, fresh paint) are reasonable DIY work. Sagging drywall, soft spots, or any visible mold growth cross into professional territory. Skipping the drying step is the most common mistake: paint over wet drywall and you will be back in the same spot within weeks.
You noticed a brown ring on your ceiling this morning, or maybe a soft bubble that wasn’t there yesterday. Before you grab a roller brush, there are two things you need to know: where the water came from, and whether the ceiling material is still structurally sound. Get those two questions wrong and any repair you do is temporary at best.
What Is Causing the Water Damage on My Ceiling?
Ceiling water damage has three common sources, and the fix is completely different for each. A roof leak shows up after rain, usually near a skylight, chimney, or a valley in the roofline. A supply-line or plumbing leak drips steadily regardless of weather and often appears directly below a bathroom or kitchen. An HVAC condensate problem produces slow, diffuse moisture near a ceiling air handler or a clogged condensate drain line, and it tends to spread wider than it is deep.
To narrow it down:
- Check the weather pattern. Does the stain appear or grow after heavy rain? Roof or flashing is the likely culprit. No rain connection? Look up.
- Go upstairs or into the attic. A wet joist, dark insulation, or active drip tells you more than the stain below ever will.
- Check the HVAC air handler. If the unit is above the stained area, inspect the condensate drain pan. A cracked pan or clogged drain line is a common source in Florida’s humid climate.
- Look at the plumbing map. Is there a toilet, sink, or shower directly above the stain? A slow supply-line seep or a wax ring failure can drip for months before the ceiling shows it.
Do not skip this step. Patching the ceiling before the source is fixed is money wasted.
Is My Ceiling Safe to Walk Under? (Sagging Ceiling Warning)
A sagging or bulging ceiling is a safety hazard and should be treated as one. Waterlogged drywall can weigh 30 to 50 pounds per sheet when saturated, and the paper facing and joint compound that hold it in place lose strength quickly when wet. If you see a pronounced bow, a soft spot that gives when you press it gently with a broom handle, or active dripping through the ceiling surface, keep people out of that room.
For a bulging ceiling with standing water trapped above it: carefully puncture the lowest point with a screwdriver to let water drain in a controlled stream rather than waiting for a collapse. Set a bucket below, then get a professional on-site to assess the structure. This is not an overreaction. Ceiling collapses from water loading are well-documented, and the IICRC S500 standard for water damage response specifically classifies ceiling assemblies as a structural concern when saturation is present.
How Do I Repair a Water-Damaged Ceiling Myself?
DIY ceiling repair is reasonable when all three conditions are true: the source is fixed, the material is fully dry (not just surface-dry), and there is no mold growth. If you can check all three boxes, here is the repair sequence:
Step 1 - Confirm dryness. Use a pin-type or non-invasive moisture meter. Drywall should read below 1% moisture content before you apply any finish. Surface-dry can still mean wet in the paper core.
Step 2 - Cut out damaged material. If the drywall is soft, crumbling, or paper-delaminated, cut back to the nearest stud on each side. Trying to skim-coat over compromised drywall fails. Replace the section with new 1/2-inch or 5/8-inch drywall (match the existing thickness), screw it to the joists, and tape the seams with mesh tape and setting-type joint compound.
Step 3 - Apply stain-blocking primer. This is the step most DIYers skip, and it is why the brown ring bleeds through three coats of regular paint. Use an oil-based or shellac-based stain-blocking primer (Zinsser BIN or equivalent) on the affected area before any finish coat. Water stains contain minerals and tannins that latex primer will not stop.
Step 4 - Skim and sand. Apply a thin skim coat of all-purpose joint compound over the primed repair, feathering 12 to 18 inches past the patch edges. Sand smooth (120-grit, then 220-grit), wipe the dust, and prime again before painting.
Step 5 - Paint. Match the sheen of the existing ceiling. Flat latex is standard for ceilings. Roll the entire ceiling panel if possible, not just the patch, to avoid a visible halo.
Total material cost for a small patch (under 4 square feet): $40 to $120 depending on whether you already own the tools.
When Should I Call a Water Damage Restoration Professional?
Call a pro when any of the following is true:
- The source is still active or unknown. A professional has thermal imaging cameras and non-invasive moisture meters that can trace moisture paths inside wall and ceiling cavities without tearing everything open.
- The ceiling is sagging or structurally compromised. This is not a drywall repair job; it is a structural assessment.
- The stain covers more than a few square feet, or the damage is in multiple rooms. Larger losses almost always involve hidden moisture in the framing, insulation, or wall cavities that a surface repair will not address.
- You see or smell mold. Visible mold on ceiling drywall means spores are already airborne in that space. Mold remediation requires containment, HEPA air filtration, and proper disposal protocols, not just bleach and a brush. The EPA’s mold guidance recommends professional remediation for any mold patch larger than 10 square feet, and even smaller areas warrant professional assessment if the HVAC system has been running through the affected space.
- The damage followed a storm. Storm-driven water intrusion often involves the roof deck, flashing, or fascia, and a ceiling stain may be the visible tip of a larger problem. A storm damage restoration assessment can scope what is actually wet before you commit to repairs.
- You are filing an insurance claim. Insurers want a written scope of work, moisture readings, and documentation of drying. A certified restoration company handles that paperwork as part of the job. See the plain-English breakdown of what policies typically cover in the post Does Homeowners Insurance Cover Water Damage?
What Does Ceiling Water Damage Repair Cost?
Costs vary significantly based on the source of the leak, the extent of hidden moisture, and whether mold is present.
| Scenario | Typical Cost Range |
|---|---|
| Cosmetic stain repair only (source fixed, no mold) | $150 - $500 |
| Drywall section replacement (up to 32 sq ft) | $400 - $1,200 |
| Water damage restoration (professional drying + repair) | $1,500 - $5,000+ |
| Mold remediation added to ceiling repair | $1,500 - $4,000+ additional |
| Full ceiling replacement (large area or structural) | $3,000 - $10,000+ |
These are typical industry ranges. Every loss is different, and any reputable restoration company will provide a written scope before work begins, not an estimate over the phone based on a photo.
If you have homeowners insurance, a sudden, accidental water event (burst pipe, appliance failure, storm intrusion through a damaged roof) is typically covered. Gradual leaks that went unreported are usually excluded. Document everything with photos and timestamps before any cleanup begins.
What About Mold After Ceiling Water Damage?
Mold can begin colonizing wet drywall and insulation within 24 to 48 hours in warm, humid conditions. Florida’s climate accelerates that window. A ceiling that was wet for more than two days before you found it should be tested or inspected for mold, even if you cannot see visible growth.
Signs that mold may already be present: a musty odor in the room, black or green spotting on the drywall surface or in the attic insulation above, or allergy-like symptoms that clear up when you leave the house. The post 7 Signs You Have Hidden Mold covers the full checklist.
If mold is confirmed, do not attempt to clean it with bleach on a porous surface like drywall. Bleach kills surface mold but does not penetrate the paper facing where the root structure (hyphae) lives. Professional mold remediation involves removing the affected material, HEPA vacuuming, and clearance testing to confirm the space is clean before reconstruction.
DRYCOR RESTORE handles water damage restoration, mold remediation, and general contracting repairs across the Tampa Bay area, so the same team that dries the ceiling can also rebuild it. If you are looking at a ceiling stain and are not sure what you are dealing with, a moisture assessment is the right first step. Call (813) 829-1091 to schedule one.
About DRYCOR RESTORE
DRYCOR RESTORE is an IICRC Certified Firm serving the Tampa Bay area since 2005 (license CBC1253966). The company holds IICRC WRT (Water Restoration Technician) certification, EPA Lead-Safe certification, OSHA training credentials, and NAERMC mold certification. Their crews handle water damage restoration, mold remediation, storm damage restoration, sewage cleanup, emergency board-up and tarping, contents restoration, and general contracting repairs across Hillsborough, Pinellas, Polk, and Pasco counties. DRYCOR RESTORE is locally owned and operates 24/7 emergency response.
Video Transcript
That brown ring on your ceiling isn’t just ugly, it’s a warning sign. Before you grab a paintbrush, here’s what you actually need to know. First rule: find the source before touching the ceiling. Is the stain near a bathroom, roof line, or HVAC unit? The fix depends entirely on the answer. If the ceiling is sagging or bulging, treat it as a safety hazard. Keep the room clear. A saturated drywall sheet can weigh over 40 pounds. Before any repair, the area must be completely dry, not just surface dry. Use a moisture meter. Drywall should read below one percent moisture content. Cut out any soft, crumbling, or bubbled drywall back to the nearest stud. Skim-coating over compromised drywall always fails. Replace it clean. This step is where most DIYers go wrong, stain-blocking primer. Use a shellac or oil-based primer first, or that brown ring will bleed through every coat of paint. After priming, apply a thin skim coat, sand smooth, then paint the entire ceiling panel, not just the patch, to avoid a visible halo effect. Call a professional when the source is unknown, the damage covers multiple rooms, or you see any mold. Mold isn’t a bleach-and-brush situation, it needs proper containment. Don’t wait on water damage, it spreads fast. Call DRYCOR RESTORE at 813-829-1091 for a free estimate and protect your home today.